Getting started with FoxPlan
Create a FoxPlan account
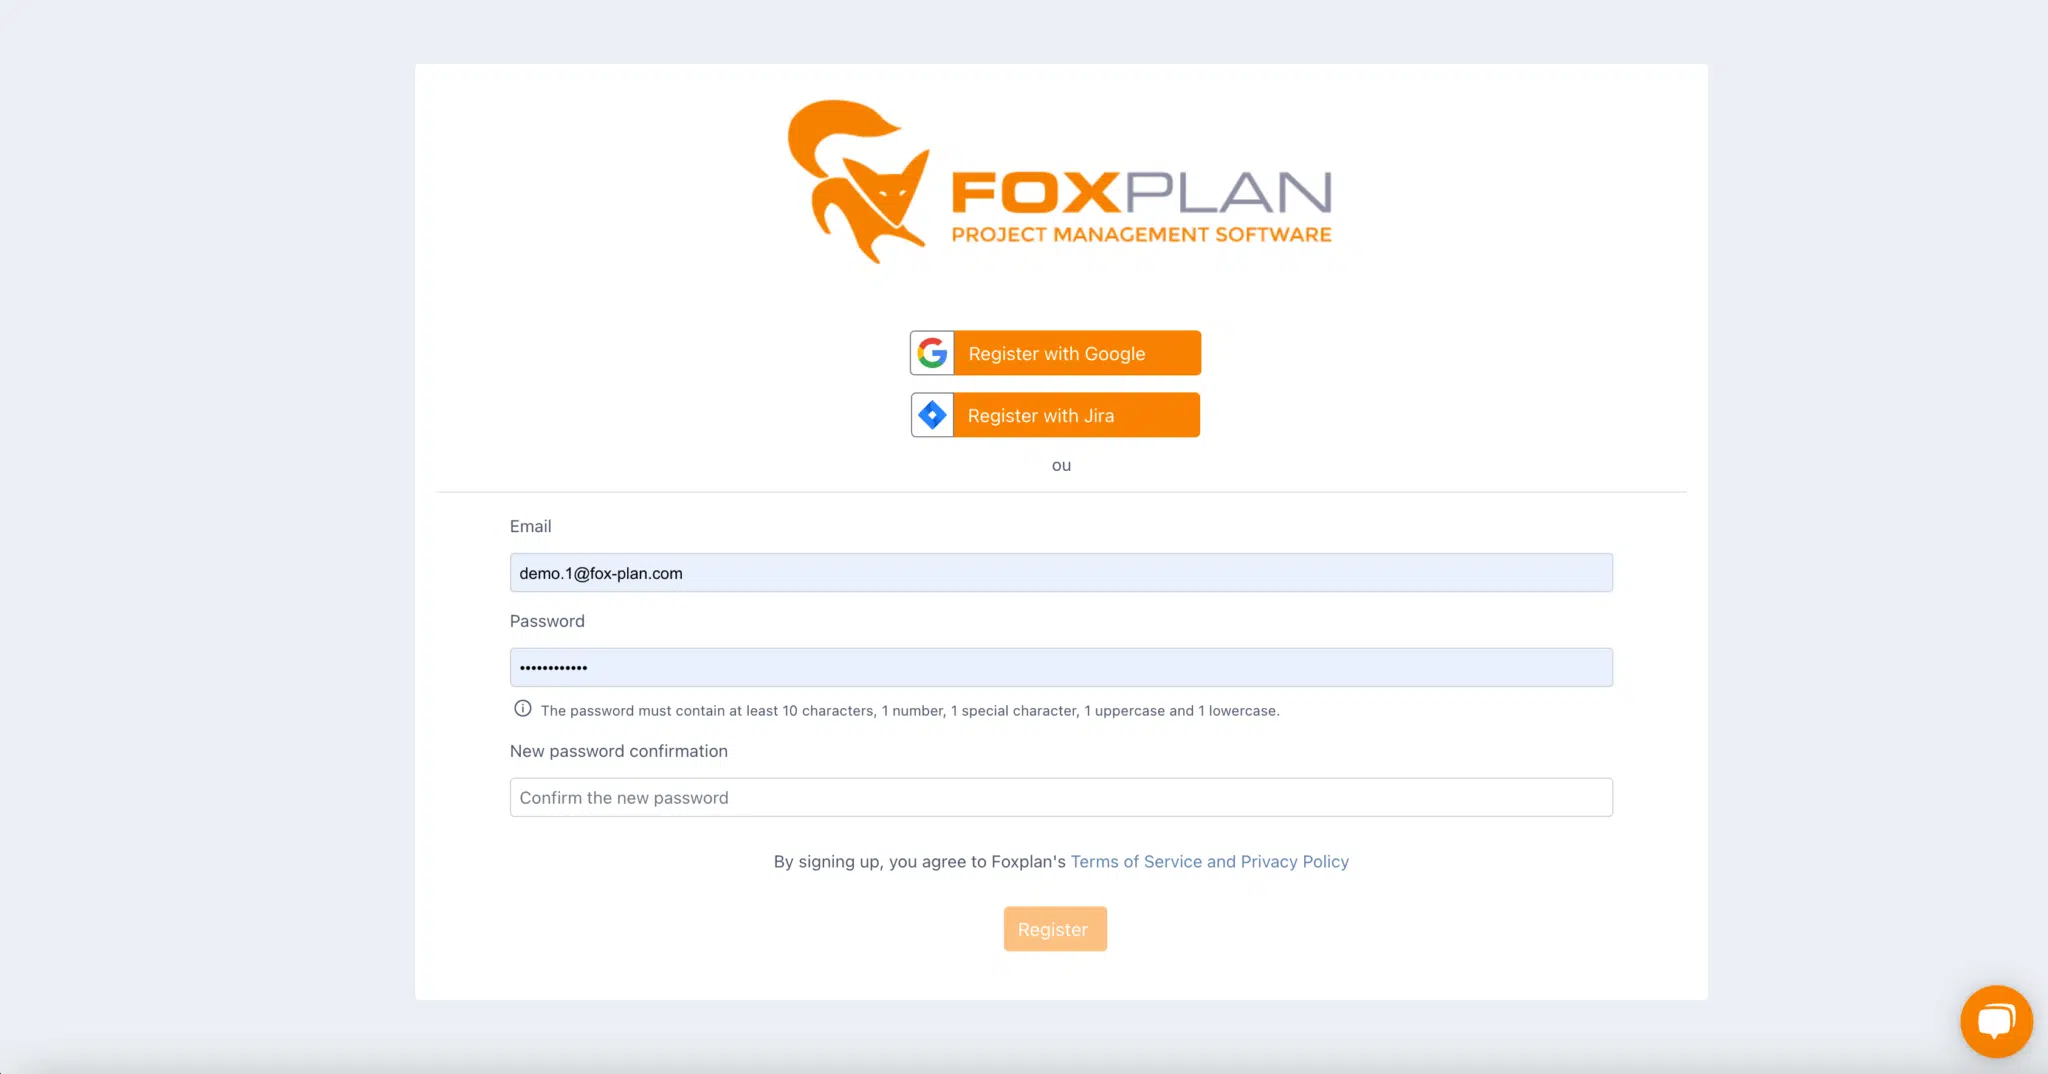
To begin using FoxPlan, follow these registration steps:
-
Visit fox-plan.com and select the "Try for free" button

-
Navigate to the registration form at app.fox-plan.com/account/register
-
Input your email address and create a password (or sign up with Google or Jira)
-
Click "Register"
-
Check your email for an activation link to complete account setup
After login
Once authenticated, you access the application, organized around five main sections available from the navigation menu:
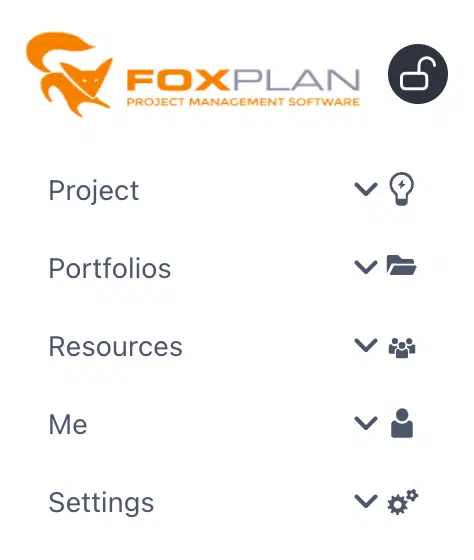
- Projects — Create, modify, and remove projects while organizing work through tasks and subtasks
- Portfolios — View a consolidated overview of all your projects
- Resources — Monitor resource allocation and team workload consolidation
- Me — Track your personal activity within the system
- Settings — Personalize FoxPlan configurations to match your organization's requirements
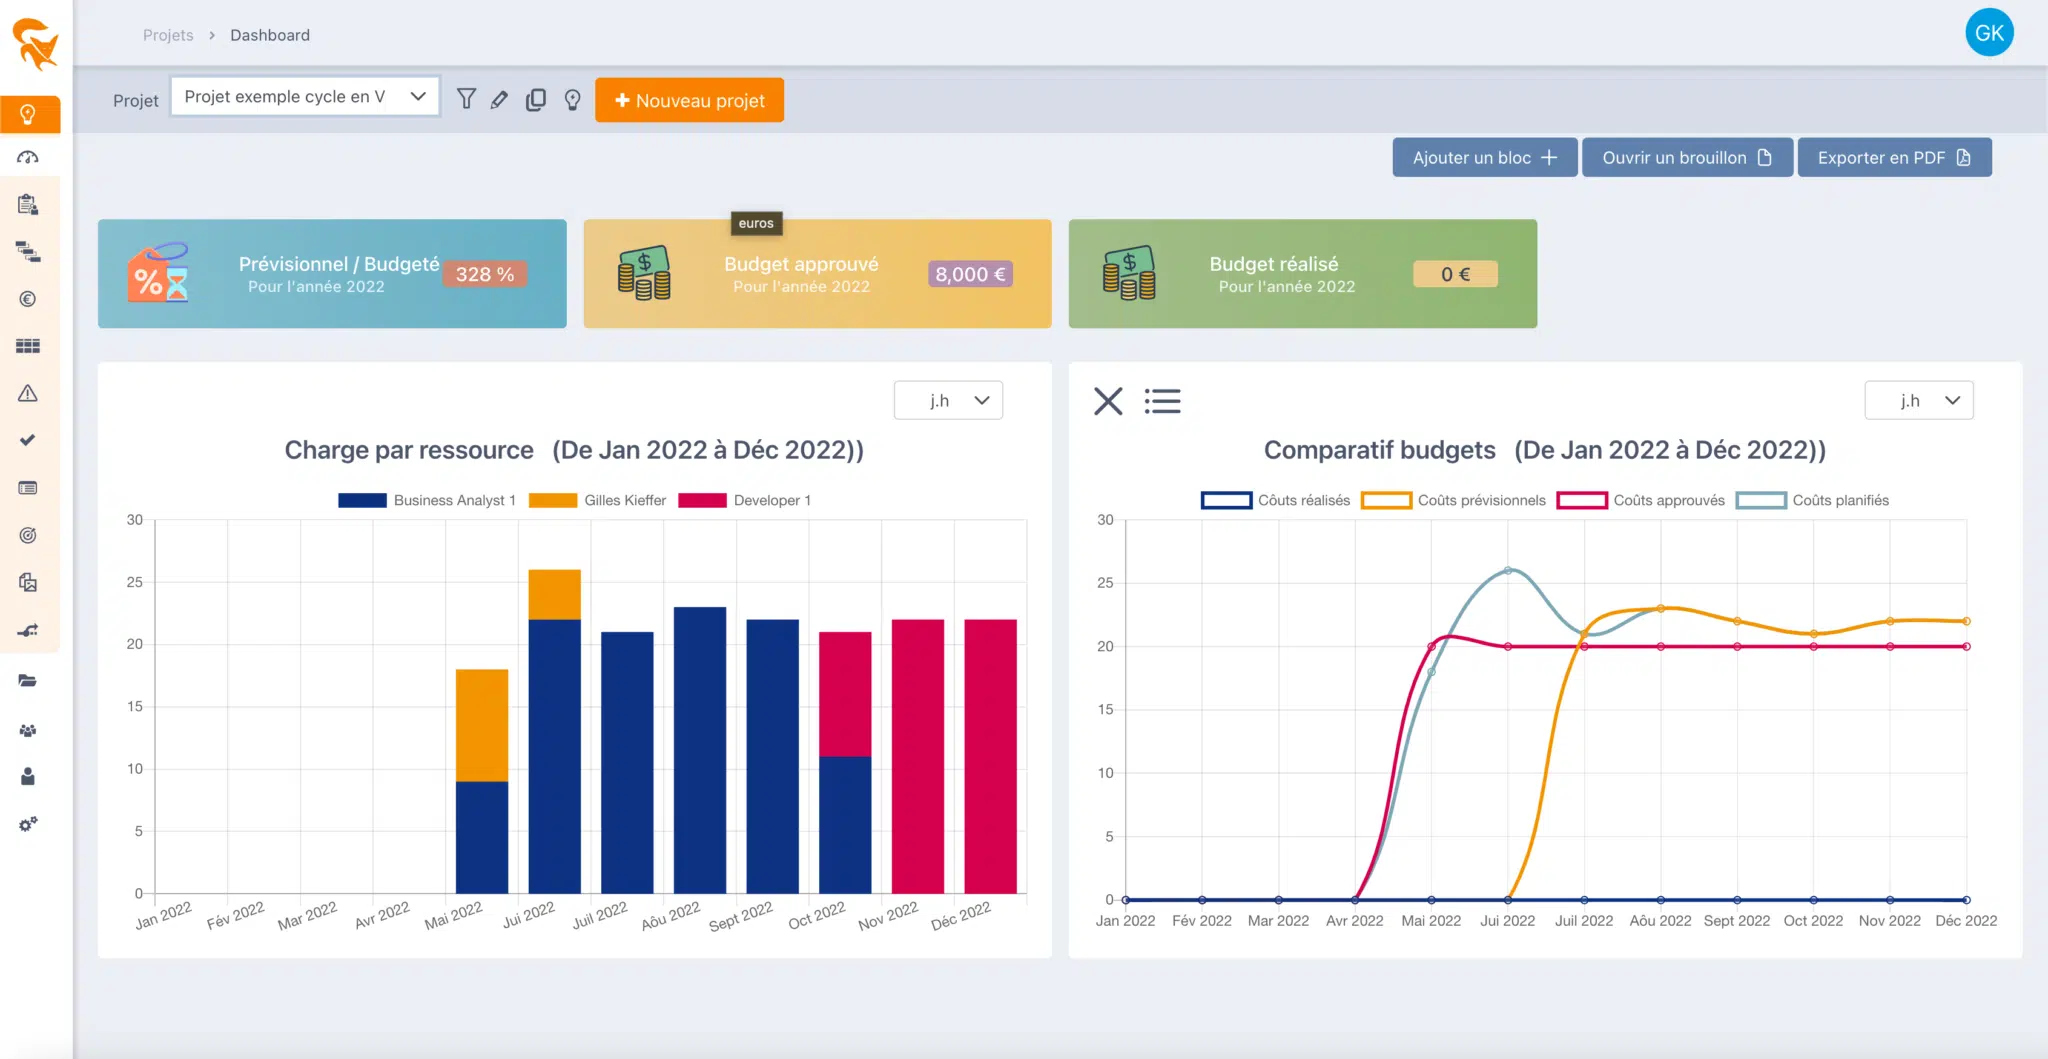
The dashboard gives a synthetic view of your project: workload by resource, budget comparison, key indicators.
Creating your first project
-
Go to the Projects tab and select "+ New project"

-
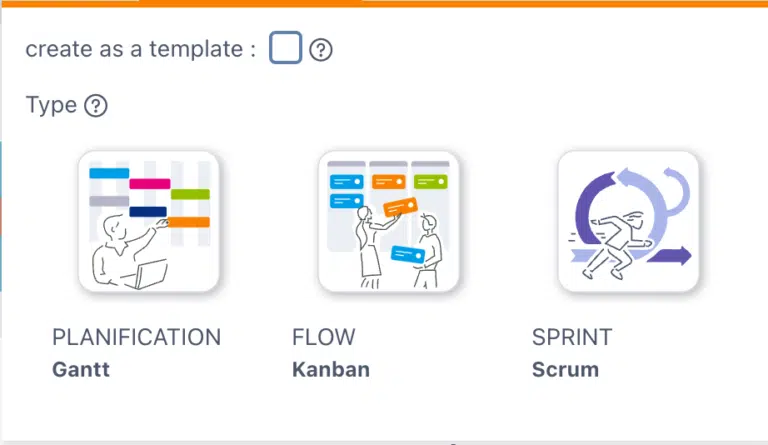
Choose the project type according to your way of working:
- Planning — Gantt: classic planned project
- Flow — Kanban: visual card-based management
- Sprint — Scrum: agile iterations
- (option) tick "create as a template" to make it a reusable template
-
Enter project details: name, start date, and end date
-
Click "Save"
-
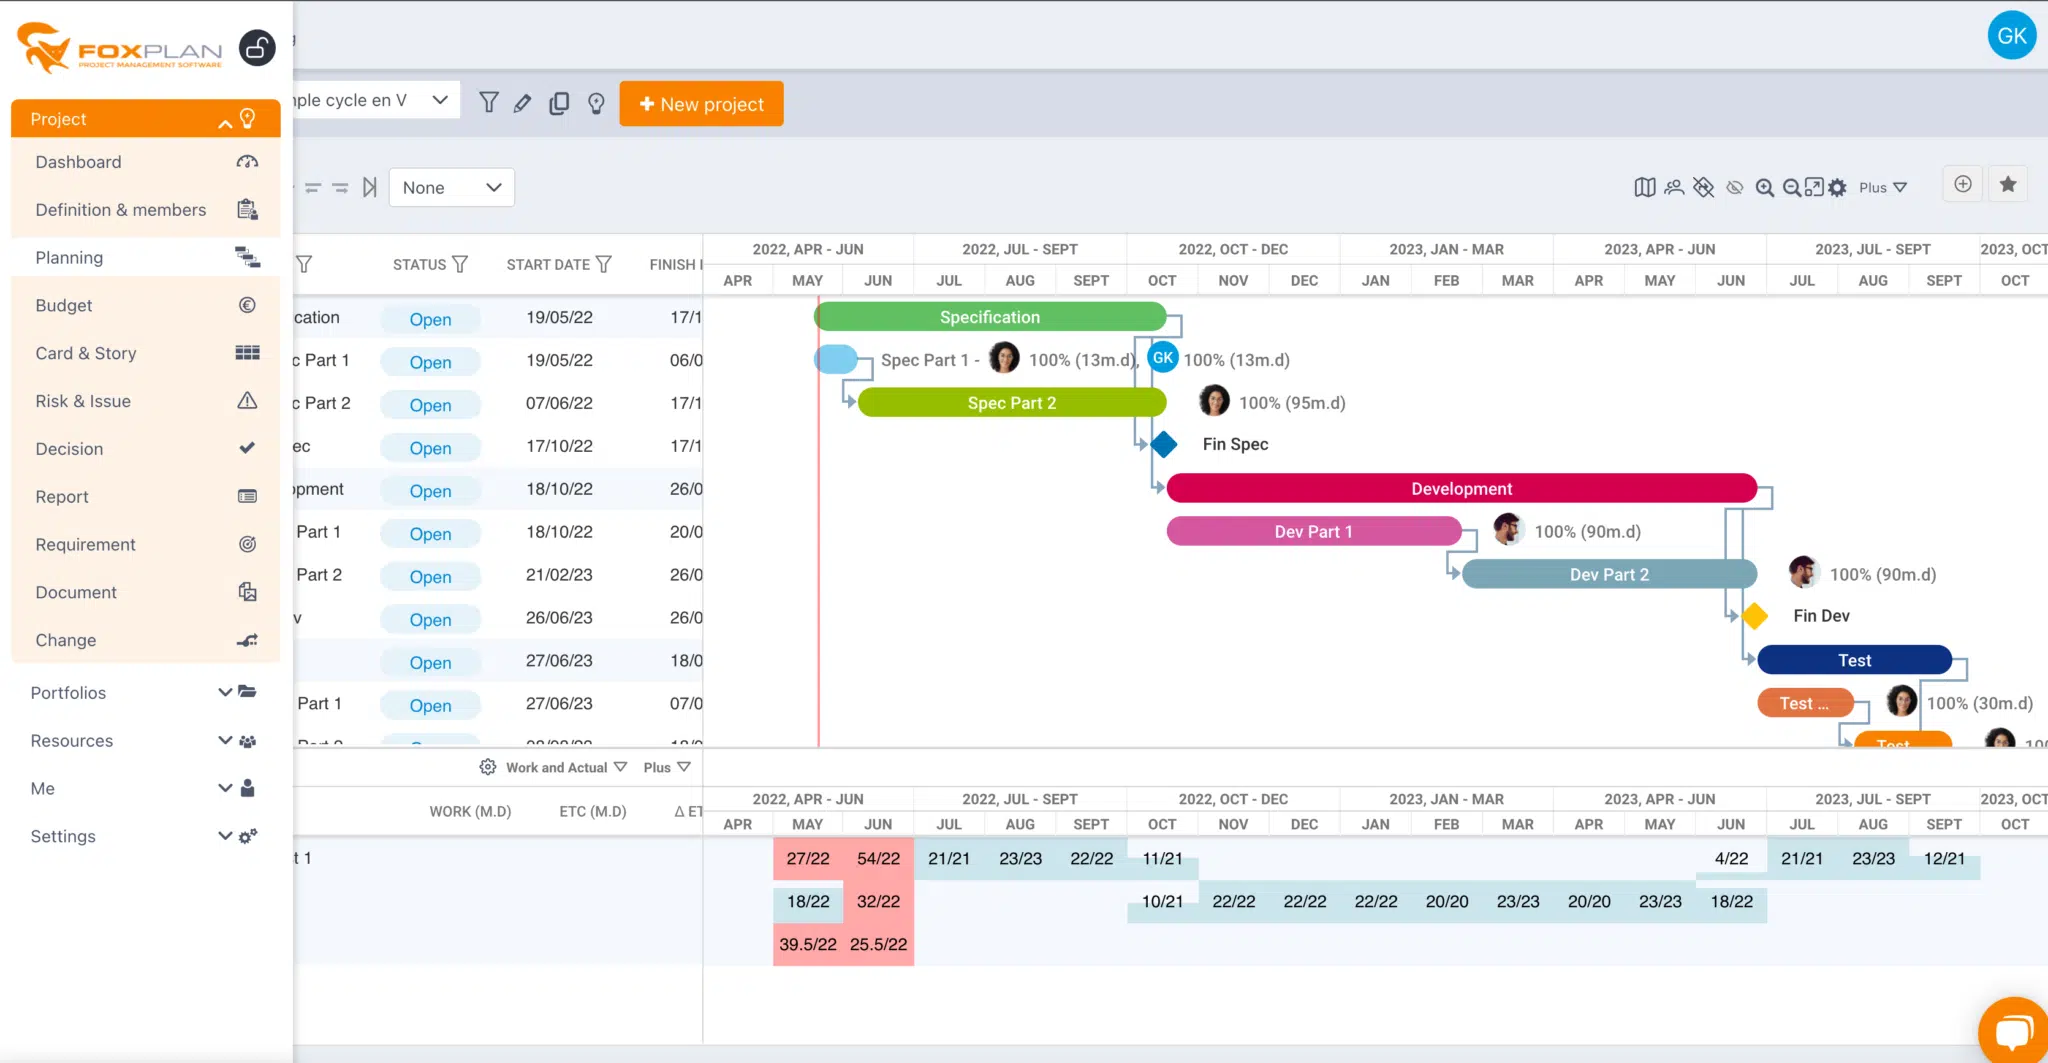
Access the Planning menu on the left sidebar to begin adding tasks
You then get your project's planning view (here a Gantt):
Adding tasks
In the Planning view, use the task toolbar to build your schedule. The "+ Tasks" button creates a new task; the adjacent icons let you edit, delete, move it or manage its dependencies.
